Pencils are an essential tool in our everyday lives, used for writing, drawing, and various creative endeavors. Whether it’s a simple graphite pencil or a colorful one, these versatile instruments have a fascinating manufacturing process. In this article, we will explore how pencils are produced, from the inception of raw materials to the final product. Key components of this process include pencil manufacturers, pencil slats, and color pencils.
From standard graphite writing pencils to colored pencils used by artists and students. Let’s delve into the various steps involved in manufacturing pencils.


Step 1: Raw Material Selection
The process starts with the selection of high-quality raw materials. Pencils consist of three primary components: the pencil core, the wood casing, and the eraser (in some cases). The pencil core, responsible for marking on paper, is made of a mixture of graphite and clay. Different proportions of these ingredients determine the pencil’s hardness or softness. For colored pencils, pigments and bonding agents are added to create a wide spectrum of colors.
Step 2: Pencil Core Production
The pencil core is manufactured by mixing the chosen graphite and clay in precise proportions. The mixture is then ground into a fine powder, which is subsequently mixed with water to form a dough-like consistency. This mixture is then extruded through a mold to create pencil cores with the desired diameter. The cores are then cut into the appropriate lengths.
Step 3: Wooden Casings
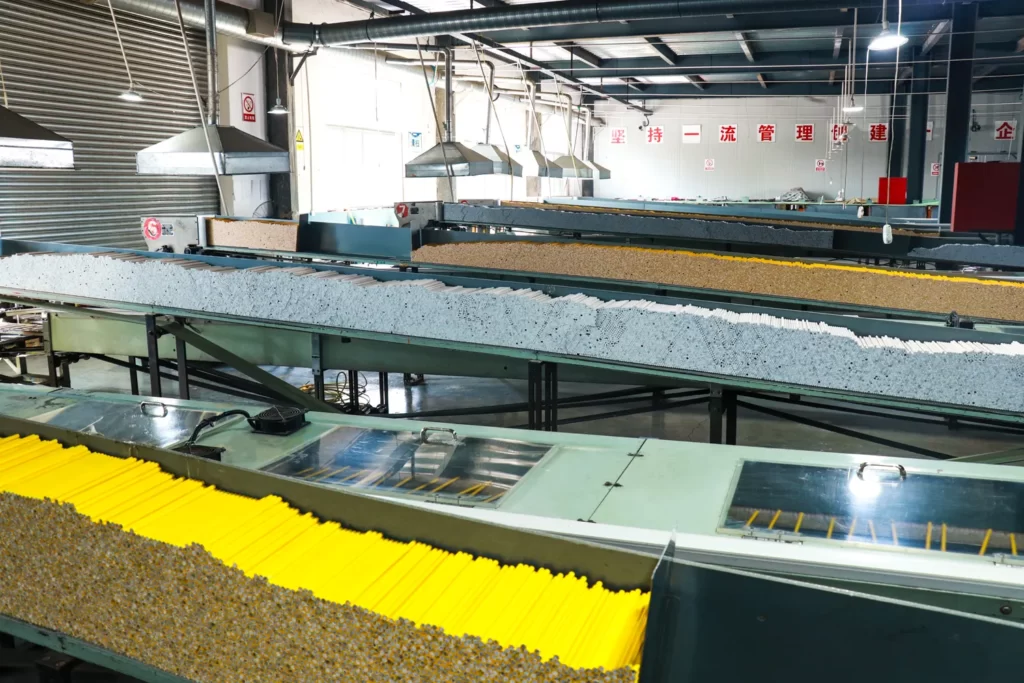
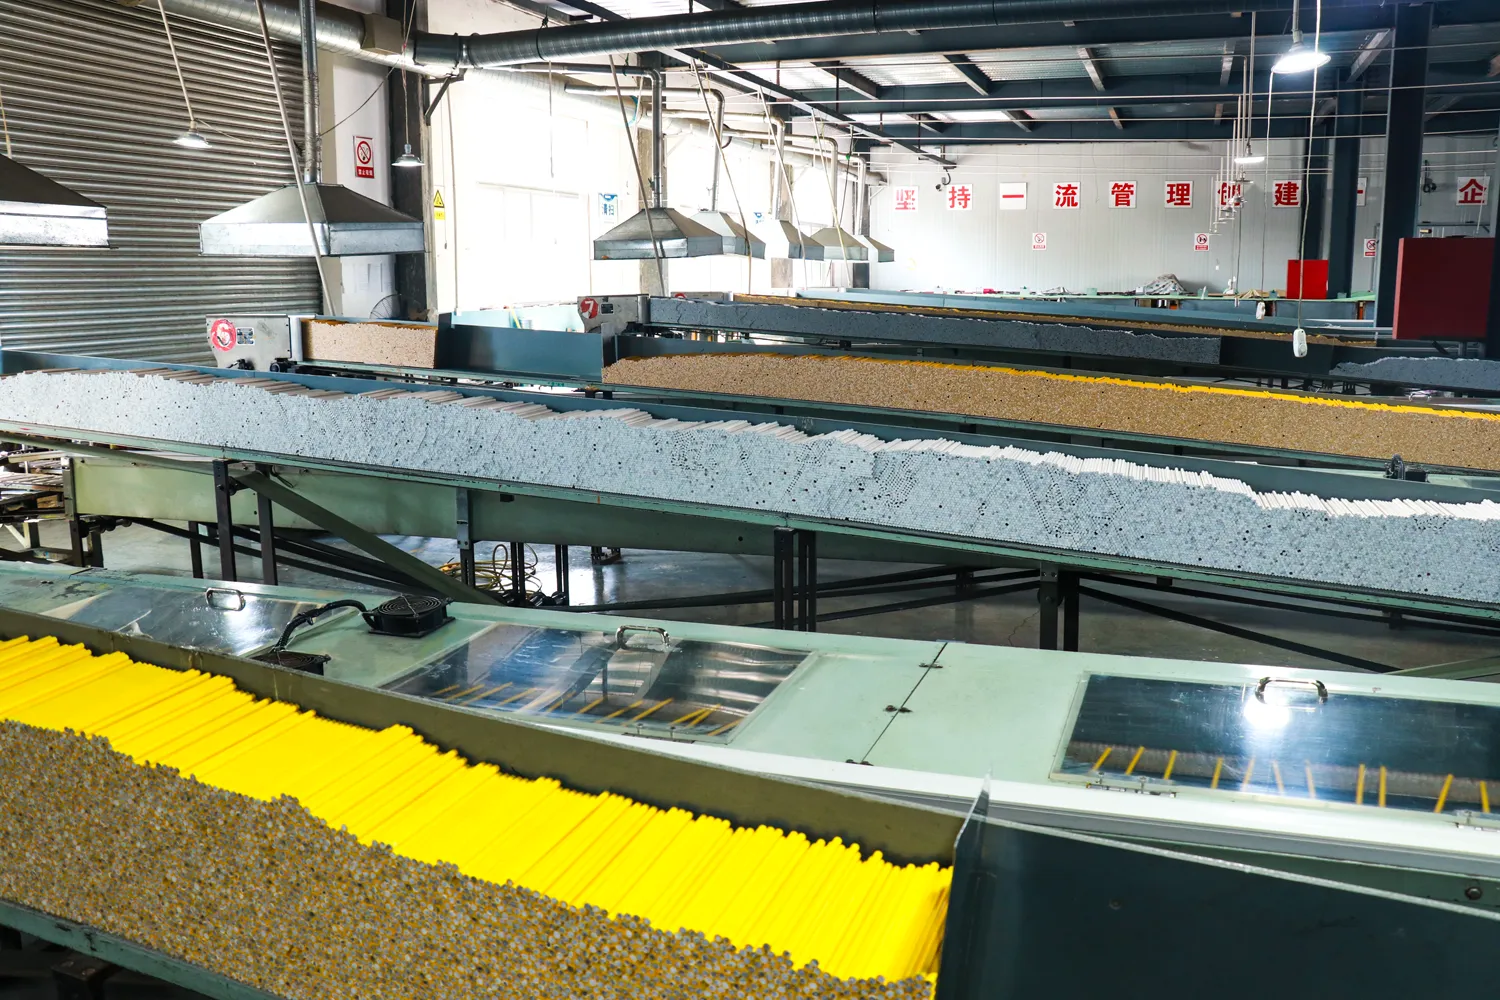
Wooden casings are another crucial component in pencil manufacturing. Typically, cedar wood is used for this purpose due to its excellent qualities: it’s easy to sharpen, doesn’t splinter, and provides a comfortable grip. The wood is processed into pencil slats, which are thin, rectangular strips that will later encase the pencil core.
Step 4: Encasing the Core
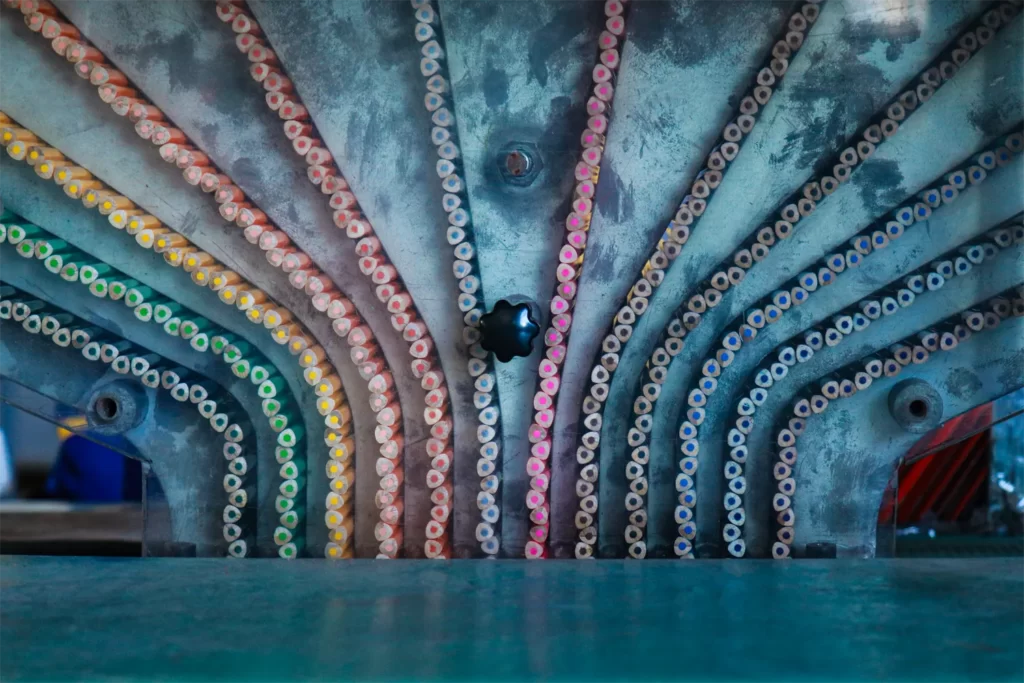
The pencil slats are notched and grooved to fit the pencil core snugly. Two slats are glued together, with the core sandwiched between them. This creates the familiar hexagonal shape of a standard pencil. For color pencils, the casings are usually round and larger to accommodate the thicker core. The glued slats are then dried and trimmed to the desired length.
Step 5: Coating and Painting
Pencils may receive a finish coat or paint to enhance their appearance and durability. This step is crucial, as it can include information like the pencil’s brand, color, and hardness. It also serves to protect the wood casing from moisture and wear.
Step 6: Erasers (if applicable)
For pencils equipped with erasers, a separate process is involved in creating and attaching them to the pencil. Erasers are typically made from a mixture of vulcanized rubber and other materials. After molding, erasers are fixed to the top of the pencil by a metal ferrule.
Quality Control
Pencil manufacturers implement stringent quality control measures throughout the production process. This includes monitoring the proportions of graphite and clay, ensuring proper adhesion between the pencil core and casing, and checking for imperfections in the wood casings. Any substandard pencils are removed from the production line.
Packaging and Distribution
Once the pencils pass quality control, they are packaged in various quantities, from individual units to bulk packs. These packages are then distributed to retailers and wholesalers around the world. Some manufacturers also provide customized packaging options for promotional purposes or branding.
Conclusion
The production of pencils is a fascinating process that combines science, craftsmanship, and precision. Pencil manufacturers carefully select raw materials, create pencil cores with the desired characteristics, craft wooden casings, and assemble the final product. Whether it’s a classic graphite pencil or a vibrant color pencil, each type serves a unique purpose and adds to the world of writing and art. Understanding the meticulous process behind pencil production makes us appreciate these everyday tools even more.
